Process
From wet earth to finished ring
Every piece moves through forming, rest, decoration, and heat. Durations vary with humidity, thickness, and kiln load — we describe stages, not deadlines.
- Forming. Wheel or hand-building establishes volume. Walls thin gradually; bases compressed so feet survive trimming.
- Drying. Pieces stiffen from leather-hard to bone-dry under controlled airflow. Covers and plastic slow uneven shrinkage.
- Bisque firing. First kiln pass drives off chemically bound water and hardens work for glazing.
- Glazing. Dip, pour, or brush; wax where clay should stay bare. Load the kiln with care — wadding, stilts, or shelves as needed.
- Glaze firing. Heat melts glaze into a glassy skin. Opening the kiln is always a surprise worth waiting for.
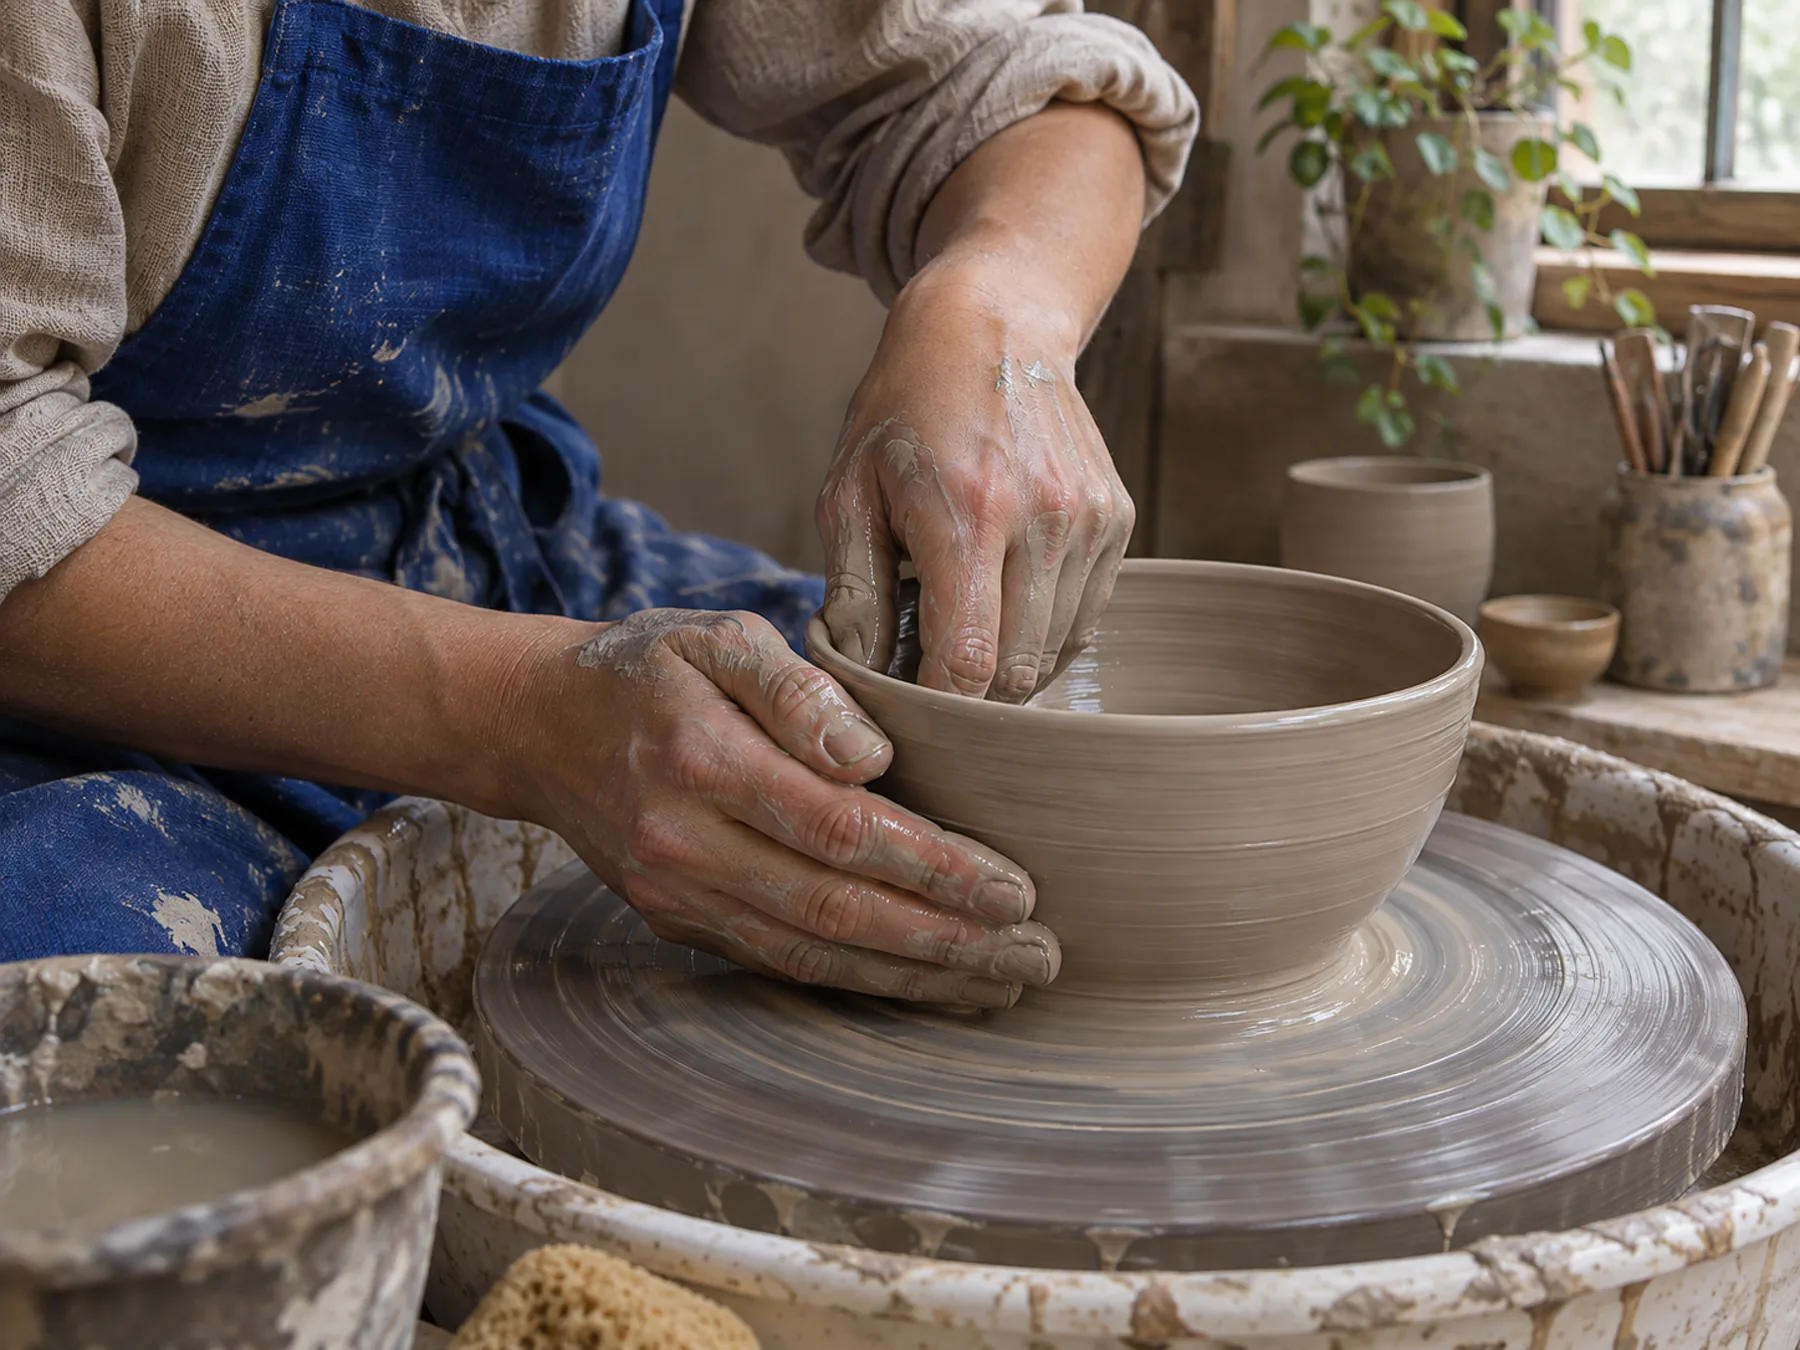
Patience as technique
Rushing a dry rim invites cracks. Skipping a bisque risks dust in glaze. The arc is the same whether you throw a mug or build a tile — only the pace changes.
Common questions